Technique One: Images with Plain Backgrounds
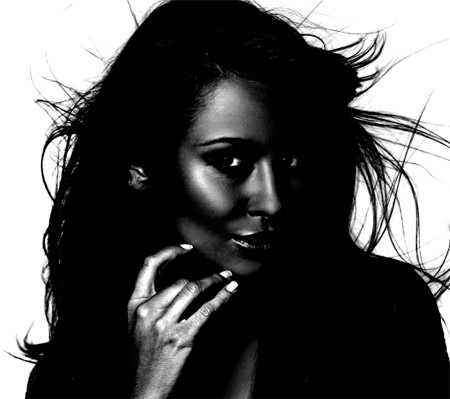
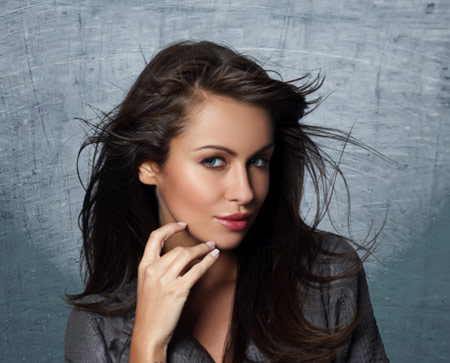
The best photos are those professional studio type shots that are taken against a plain white background. These shots make it much easier to find the edges of the subject, but trimming out fine hairs can still be a little tricky. In this example we’ll be using the common Channel technique to trim out this lovely lady.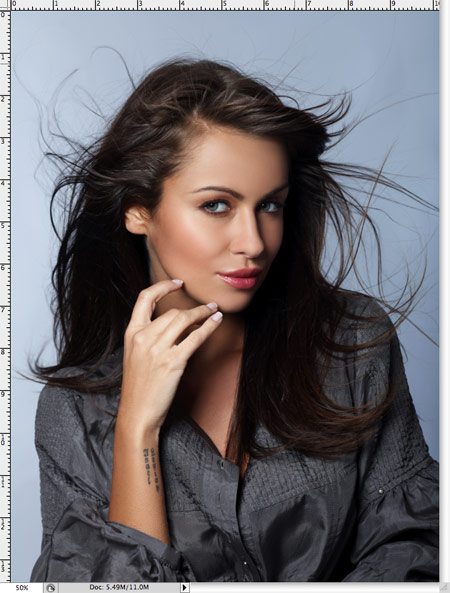
Open up your image in Photoshop. This particular image doesn’t have a pure white background, but it is a plain colour and has good contrast between the subject and grey backdrop.
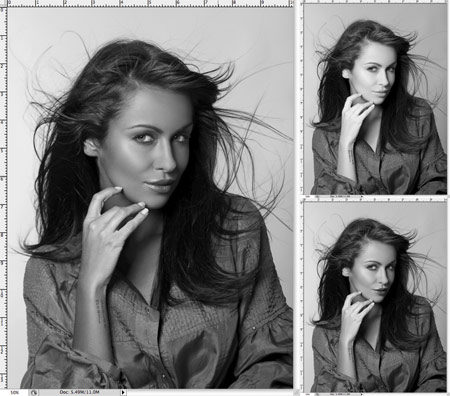
Head over to the Channels palette and review each of the Red, Green and Blue channels. Each one will be made up of slightly different tones, pick the one with the most contrast between foreground and background. Drag this channel onto the new channel icon to duplicate it.
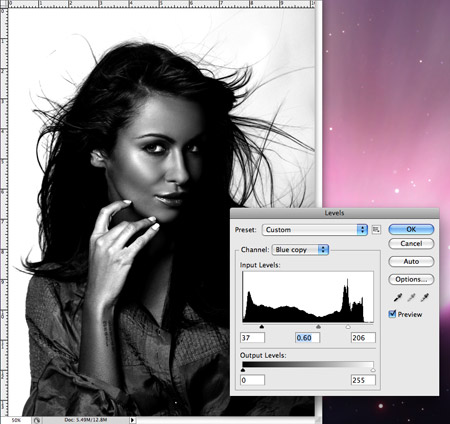
With only the new channel selected, adjust the Levels (CMD+L) to dramatically increase the contrast between light and dark areas. However, don’t go too far, as you’ll notice some horrendous pixilation appearing in the fine areas.
Due to the slight variation in tone of the background, it appears grey in the darker areas. Use the Dodge tool set to a low Opacity to target the highlights and brush over this background area to really brighten it up.
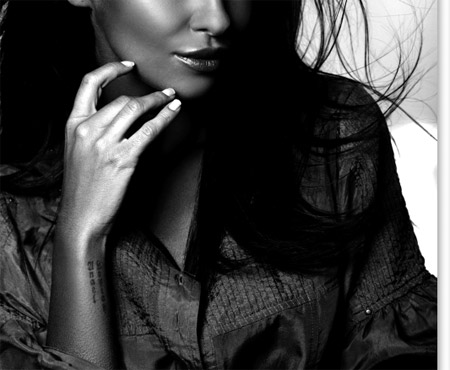
Switch over to the Burn tool and target the shadows to dramatically darken down the inner areas of the image to pure black.
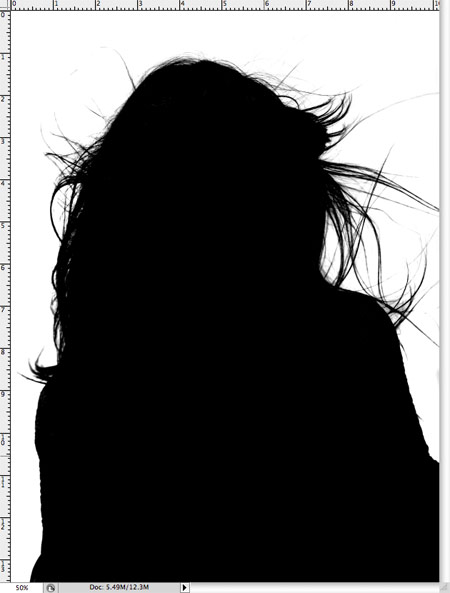
Use the brush tool to finish off the blacks by painting over the remaining areas of the inner section of the image.
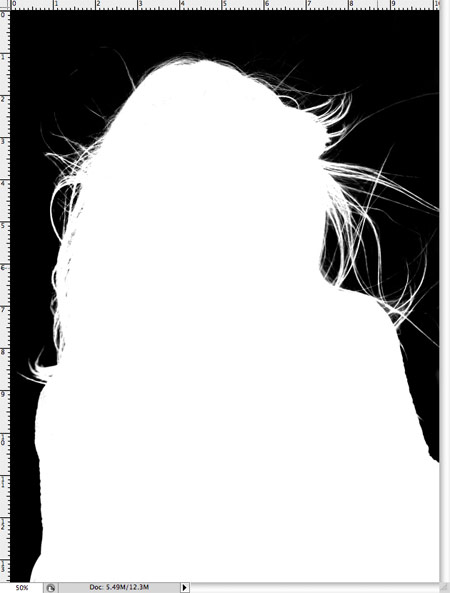
Inverse the image to switch over the black and white areas (CMD+I), and give a quick check for any stray areas that may have been missed by the brush.
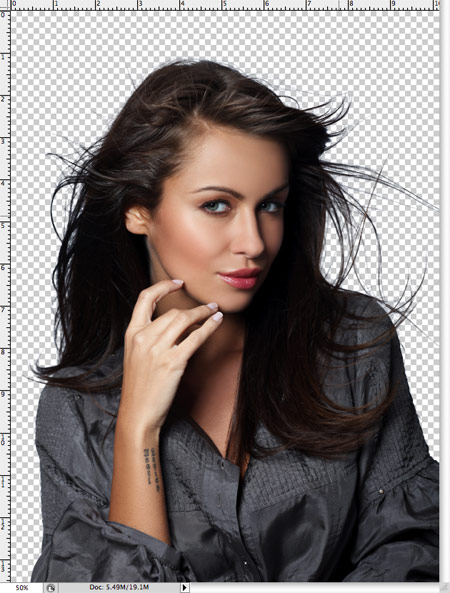
CMD+Click the Channel thumbnail to load the selection, then turn back on the visibility of the original channels. Head back over to the Layers palette and copy the selection. Paste it on a new layer and hide the original to see the cut out image against transparency.
The selection has managed to trim out even the finest of hairs to give a realistic cut. Paste the photo against an alternate background. Zoom in and check for any light coloured fringes around the edges, especially if placed against a darker background. These can be reduced using the Burn tool set to Highlights and gently brushed over the outline of the image.
Technique Two: Images with Detailed Backgrounds
The Channels technique is all well and good for studio photography with plain backgrounds, but it gets a little more difficult on standard shots with detailed backgrounds getting in the way.
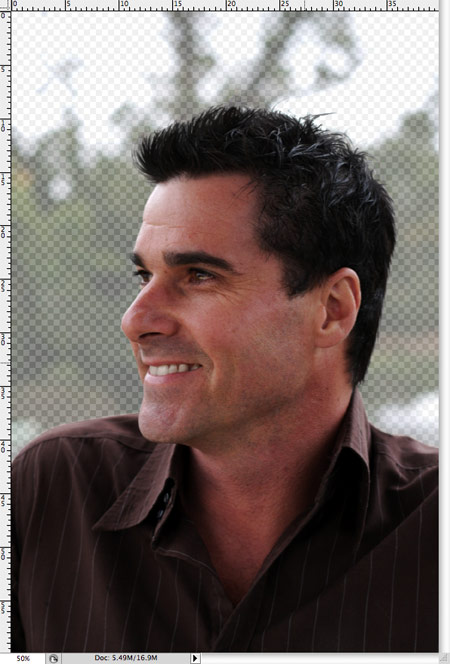
Open up your image in Photoshop. This image has a decent contrast between foreground and background, but certain areas of the hair do blend in with the darker tones of the backdrop.
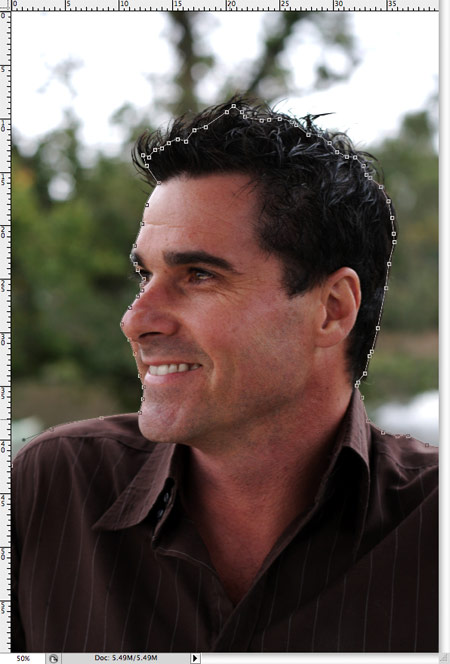
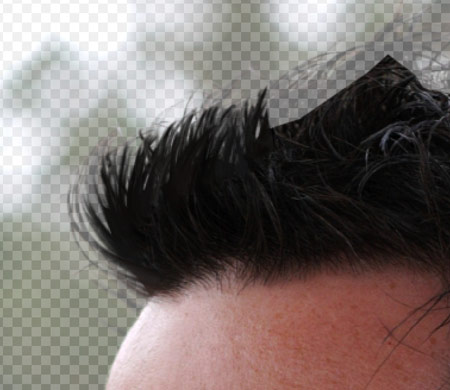
Start by trimming out the clear edges with the Pen Tool, but when you reach the hair simply create a rough tracing.
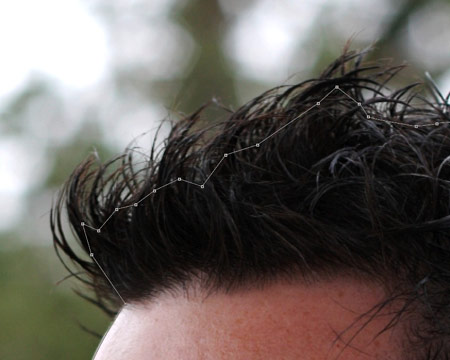
Around the hair portion, aim to include only solid areas of hair that aren’t merging with the background, otherwise the lighter tones will mess things up later.
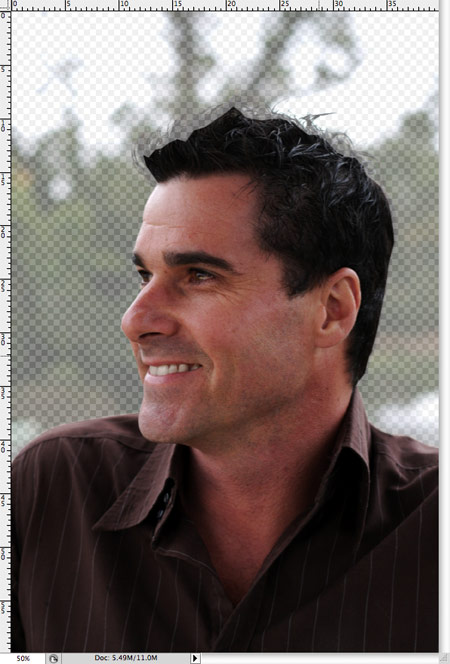
Make a selection with a feathering of 0.2 pixels to remove any harsh edges then paste onto a new layer. Reduce the transparency of the image so that the original hair line can just be seen.
Here’s where the fun begins! Use the Smudge Tool to draw in areas of new hair, using the original outline as a template. Begin with a 4px brush to flesh out the thick base hair and disguise the jaggy lines from the path. A Wacom Graphics Tablet really comes in handy here to speed up the process and help add varied line thicknesses.
The new hair will soon flesh out the image back to its original appearance. It doesn’t look too bad at this stage, but repeating the process with a thinner brush will draw in those individual hairs.
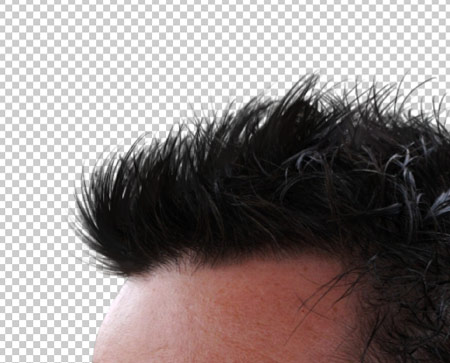
Use a 2px brush with the Smudge Tool to draw thin stray hairs in varied directions to add realism to the image.

The photo can then be placed on any background with ease, and displays a crisp cut-out with no fringing or loss of fine detail.
Channel
1.1 Buka Gambar pada photoshop anda (Copy File)

1.2 Klik Channel Blue, pilih channel yang membuat kulit agak gelap, .lihat gambar


1.3 Kemudian Klik Channel Red, Pilih Channel merah agar Background lebih terang, lihat gambar.


1.4 Klik Image > Callculation (menggabungkan channel)

1.5 Gabungkankan antara Channel Red dan Blue yang kita lihat sebelumnya
1.6 Caranya pilih dan atur seperti gamabar di bawah.
- Source 1 pilih Channel RED
- Source 2 pilih Channel Blue
- Blending Overlay (pilih yang jelas perbedaan background dan rambut)
- Opacity : 77%

1.7 Klik Foreground, Ubah Menjadi warna Hitam
1.8 Kemudian Klik Brush Toll > Hard Brush > Size : 21 (sesuaikan) > Opacity 100
1.9 Brush Pada Bagian wajah dan tubuh (Area Merah), kecuali bagian helai rambut, Perhatikan Gambar

2.0 Hingga hasilnya akan seperti tampak pada gambar di bawah

2.2 Kemudian Klik Burn Tool pada toolbox
2.3 Atur Brush > Soft Brush > Size : 65 (sesuaikan) > INGAT pada Range pilih Shadow > Exposure : 29 %.
2.4 Brush pada Helai Rambut (Area Merah) hingga terlihat gelap. Lihat Gambar

2.5 Kemudian Pilih Dodge Tool pada Toolbox
2.6 Atur Brush > Soft Brush > Size : 65 (sesuaikan) > INGAT pada Range pilih Highlight > Exposure : 21 %.
2.7 Brush pada Backgorund (Area Merah) hingga terlihat terang. Lihat Gambar

2.8 Tekan Ctrl+i (Inverse)untuk memutar warna Hitam dan Putih
2.9 Kemudian pilih kembali Dodge Tool, Lalu Brush pada pinggiran rambut (Area Merah)

3.0 Select > Load Selections > OK

3.1 Secara Otomatis Warna Putih Terseleksi

3.2 Klik kembali Channel Pilih RGB

3.3 Klik Layers Kemudian Background

3.4 Selanjutnya Buat Halaman Baru > Warna Merah > Ukuran yang sama, Lalu Drag menggunakan Move Tool seperti gambar di bawah

3.5 Maka Hasilnya akan seperti tampak pada gambar di bawah ini

DAFTAR PUSTAKA
http://blog.spoongraphics.co.uk/tutorials/handy-techniques-for-cutting-out-hair-in-photoshop
http://idcreativity.blogspot.com/2011/06/tutorial-cara-seleksi-rambut-photoshop.html
Tidak ada komentar:
Posting Komentar
Saran Yah..